

How Helical Piles Are Installed: Step by Step, From Layout to Torque Log
How helical piles and screw piles are installed, step by step: site assessment, soil data, layout, equipment, installing to torque, extensions, caps and brackets, inspection and timelines.
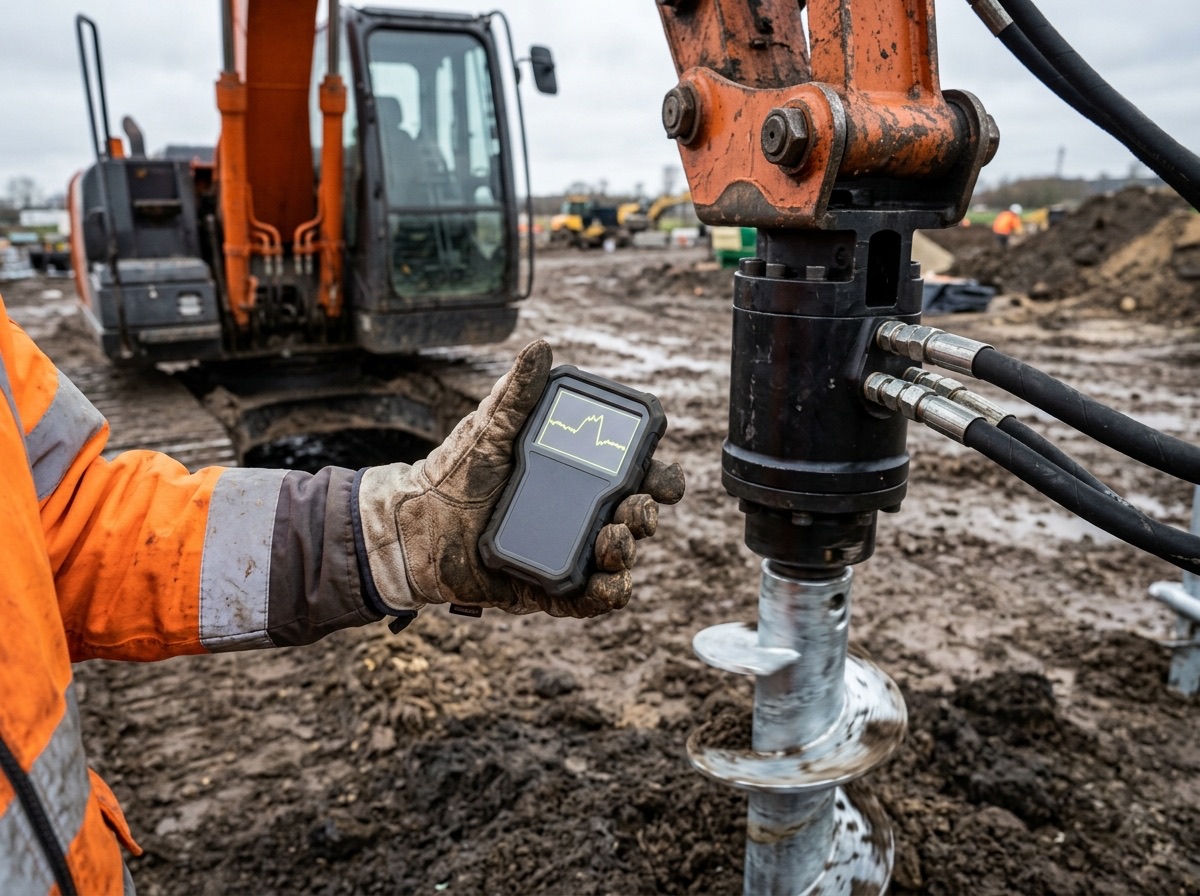

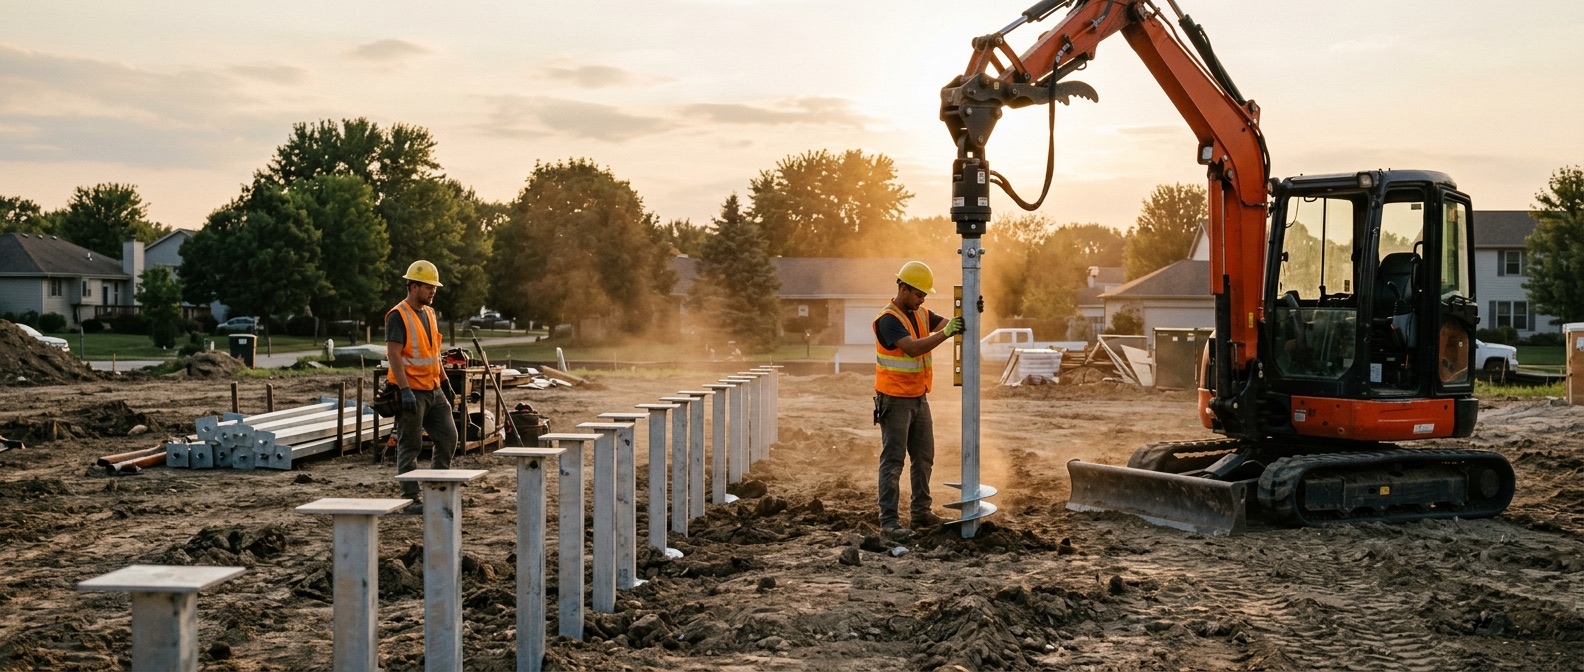
Helical piles are installed by screwing a steel lead section into the ground with a hydraulic drive head, adding extensions until the pile reaches both a minimum depth and a minimum installation torque, and then fitting a cap or bracket that ties it to the structure. Torque is monitored the whole way down and written in a log. Because capacity is estimated from that final torque, the log is the proof that each pile will carry its load. A typical residential job, such as a deck or small addition, often takes a day or less on site. Larger and repair projects take longer. Here is the full process, from site assessment to final inspection.
Key takeaways
- Two targets, not one: installation stops only when the design's minimum depth and minimum torque are both met.
- Slow and steady: evaluation reports limit installation speed to under 25 rpm and require the pile to advance close to one helix pitch per revolution.
- Calibrated equipment: torque indicators must be calibrated, typically within the previous 12 months.
- Records: torque is logged at regular depth intervals and at final depth for every pile.
- Timeline: small deck jobs can be finished the same day. Engineering, permits and inspections usually take longer than the install itself.
Step 1: Site assessment and project design
Every installation starts with two questions: what are the soils, and what are the loads? CHANCE puts these first in its engineering guidance. Dense soil usually needs fewer and smaller helix plates, while soft clay needs more and larger ones. Loads range from about 10 kips for light work to more than 100 kips (Hubbell). The installer or engineer also looks at:
- Access: gate widths, slopes, overhead wires and whether a skid steer, mini excavator or handheld unit fits.
- Utilities: call 811 (U.S.) or your provincial locate service (Canada) before any digging or drilling.
- Frost depth and water table, which set the minimum embedment in cold climates.
- Corrosion risk, such as fill, road salt or marine exposure, which may call for galvanizing. See do helical piers rust?
Step 2: Geotechnical information
The soil data can come from a full geotechnical report, a few borings or probes, or, for many small residential jobs, local experience plus the torque correlation itself. CHANCE uses standard penetration test (SPT) blow counts to classify soil: fluid at 0 blows, soft from above 0 to under 5, and firm at 5 or more (Hubbell). The CHANCE evaluation report ESR-2794 allows some residential structures under the IRC to skip a geotechnical investigation if capacity is based on torque with a higher safety factor. Commercial projects typically need a report. Today's Homeowner estimates $1,000 to $2,000 for a soil report on a foundation repair.
Step 3: Engineering, permits and layout
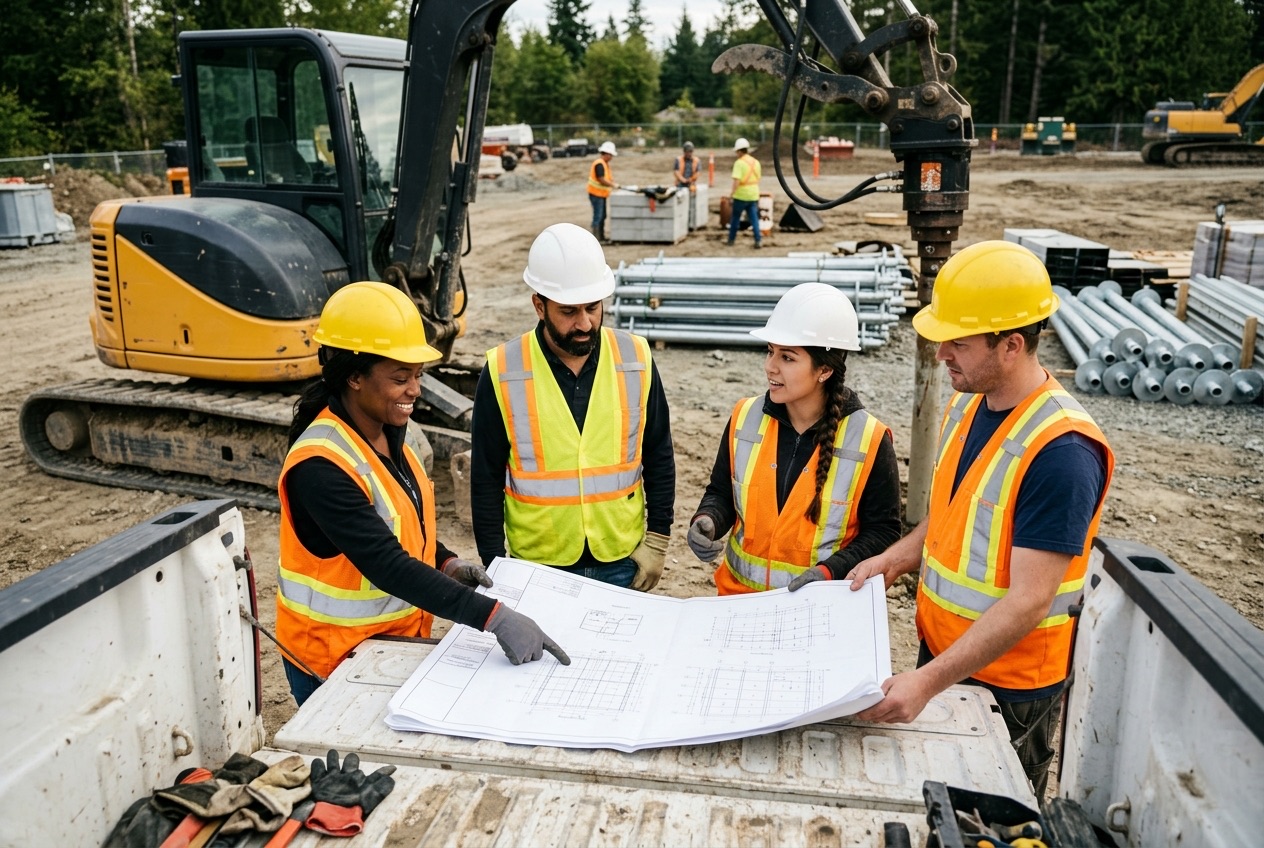
The design documents should list, for each pile, the manufacturer and model, helix configuration, minimum tip depth, minimum torque, any maximum depth, and the cap or bracket detail. ESR-2794 requires foundation design documentation with these items for every pile placement. Then comes the permit. See helical pile permits and building codes for what most departments ask for.
On site, the crew lays out pile locations from the drawings with stakes, paint or string lines. For decks, post locations set the layout; see helical piles for decks. For foundation repair, the crew digs a small pit at each pier location to expose the footing. Our guide on helical pier spacing explains how the engineer chooses those intervals.
Step 4: Set up the installation equipment
Helical piles are installed with a rotary hydraulic drive head mounted on a machine or held in a portable frame. Machines range from walk-behind units to excavator-mounted rigs (Fine Homebuilding), and some residential makers build compact machines that fit through a standard door or gate (Techno Metal Post). ESR-2794 sets clear equipment rules. The drive head must deliver at least 10% more torque than the pile's maximum installation torque rating. It must also apply enough downward force (crowd) to advance the pile about 3 inches per revolution. The torque-measuring equipment must be accurate to within ±10% of the minimum torque criterion.
| Equipment | Typical use |
|---|---|
| Handheld or portable drive head with a reaction bar | Tight access, interior work, small anchors |
| Compact track loader, skid steer or mini excavator with drive head | Most decks, additions, homes and repair work |
| Full-size excavator with high-torque drive head | Commercial, solar, utility and large-diameter piles |
| Torque indicator (in-line or pressure-based) | Required on every job to measure and log torque |
A new CHANCE engineer's account of learning to install helical piles from the operator's seat, from our news desk, shows how ordinary machines become installation rigs.
Step 5: Install the lead section
The crew pins the lead section into the drive adapter, sets the tip on the layout mark and checks alignment. Vertical piles are held plumb. Repair brackets and tiebacks follow the angles in the design. ESR-2794, for example, specifies 3° ± 1° for its remedial repair brackets and 0° ± 1° for new-construction caps. The operator then starts turning.
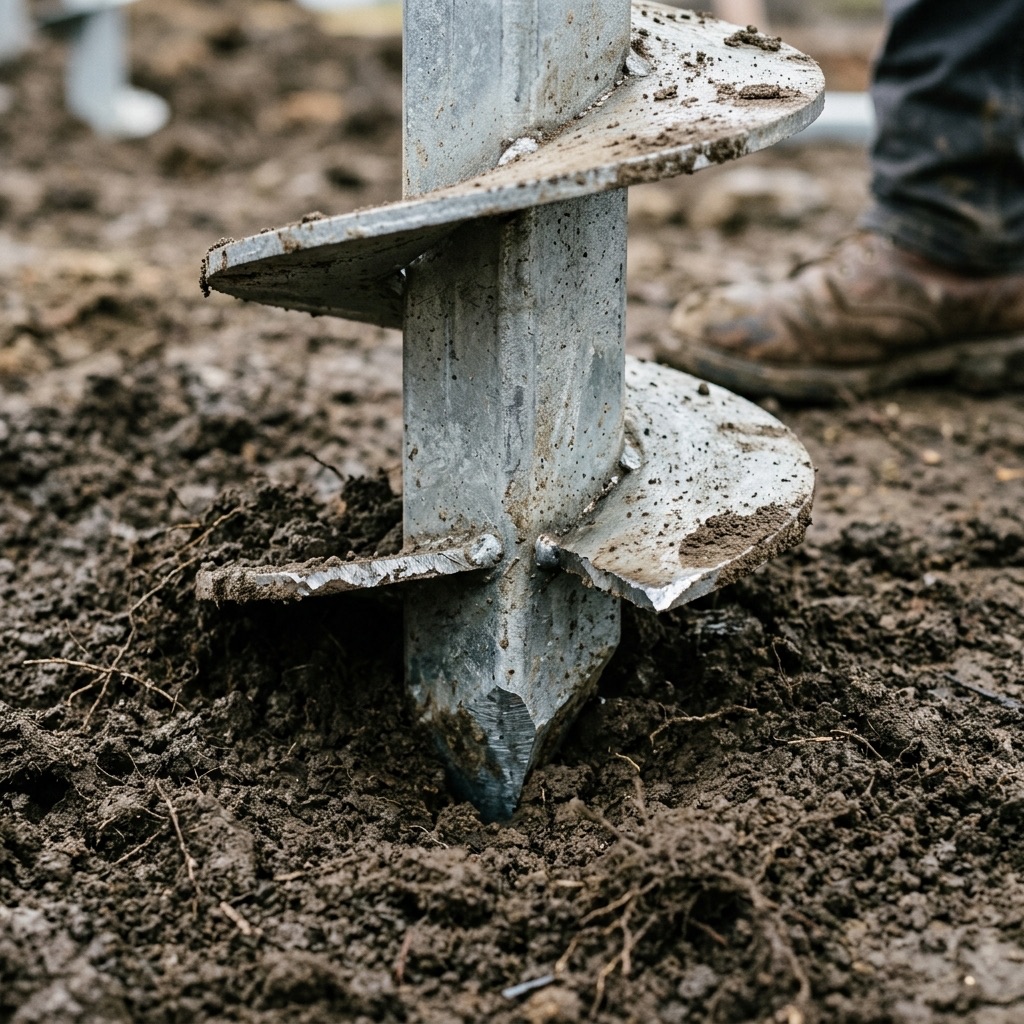
Speed and advance rate matter because the torque correlation assumes the helix is cutting cleanly through the soil. It should not be churning in place. ESR-2794 requires rotation between 5 and 25 rpm and crowd that keeps the pile moving 2.5 to 3.5 inches per revolution, especially when readings are taken. AC358 builds the same limits into its torque correlation criteria: under 25 rpm and advancement of at least 85% of the helix pitch per revolution (ICC-ES AC358, Table 3).
Step 6: Add extensions and install to torque
When the top of the lead section nears the ground, the operator stops, bolts on an extension, and keeps going. Extensions may be plain or carry more helix plates, and they are added in the order shown on the plans. Torque is watched continuously and never allowed to exceed the pile's maximum installation torque rating. ESR-2794 requires torque to be recorded at least every 5 feet and just before stopping. For multi-helix and tension piles, readings are also taken 2 feet and 1 foot before final depth, and the average of the last three readings must meet the design minimum.
What if the pile doesn't hit its targets?
This is where good installers stand out. GoliathTech's model specification sets out the usual options (GoliathTech):
| Situation | Typical options (engineer approval required) |
|---|---|
| Minimum torque not reached at minimum depth | Go deeper with extensions; reinstall with more or larger helix plates; or reduce the pile's rated capacity and add piles |
| Maximum torque reached before minimum depth | Accept the shallower depth if the engineer approves, or reinstall with smaller helix plates |
| Refusal on rock or an obstruction | Remove the obstruction if feasible, or move the pile to an adjacent approved location |
When a pile is reinstalled in the same spot, GoliathTech's specification requires the new top helix to finish at least 3 feet beyond the original pile's depth, so it bears on undisturbed soil. Our guide to how deep helical piles go explains typical depths.
Step 7: Cut to elevation and install caps or brackets
Once each pile meets its criteria, the crew cuts the shaft to the design elevation, usually with a laser or transit, and installs the connection:
- New construction caps sit on the pile and are cast into a footing or grade beam. Under ESR-2794, the special inspector checks that the cap plate is in full contact with the top of the shaft.
- Deck and post brackets give a bolted saddle or adjustable top for 4×4, 6×6 or beam connections.
- Remedial repair brackets bolt to an existing footing. The load is then transferred to the pier, often with hydraulic jacks, to stabilize or lift the structure. See helical piers for foundation repair.
Step 8: Inspection and records
On IBC projects, a special inspector watches the installation continuously (IBC 1705.9). The inspector records items such as the product manufacturer and the installer's certification, catalog numbers, equipment, tip depth, torque, pile position and bolt tightness (ESR-2794, Section 4.3). Continuous special inspection is not required under the IRC by that report, but local inspectors still review the work and the torque log. Some commercial projects add load tests. CHANCE notes that pre-production test piles are typically loaded to 200% of design load and production proof tests to 133% or 160%, under ASTM D1143 (compression) or D3689 (tension) (Hubbell).
Before the crew leaves, you should have a torque and depth log for every pile. Keep it with your permit sign-off. It helps with warranty claims and at resale.
How long does helical pile installation take?
Installation is usually the fastest part of the project. A deck contractor writing in Fine Homebuilding describes a two-person crew arriving in the morning, installing 10 or 12 piles for a large deck and leaving by mid-afternoon. Techno Metal Post says a deck can be built on its piles in a single day. There is also no concrete to cure, so framing can start as soon as the caps are on.
| Phase | What drives the time |
|---|---|
| Site visit and quote | Contractor scheduling and project size |
| Engineering and soil data | Whether a soil report or stamped design is needed |
| Permit | Local plan review times, which vary widely |
| Installation | Pile count, depth, soil, access and weather |
| Brackets, lifting and backfill (repair work) | Excavation, lift sequence and site restoration |
| Inspection | Inspector availability and the paperwork provided |
For more on pace and what slows a job down, read how long it takes to install a helical pile. For budgeting, see our helical pier cost guide.
Winter and Canadian installations
Helical and screw piles are often installed through the winter, because there is no concrete to protect from freezing. That is one reason they are popular in Canada and the northern U.S. The helix must still sit below the frost zone, and CHANCE's rule of thumb is at least 3 helix diameters below the depth of seasonal soil change (Hubbell). CCMC evaluations set similar rules. CCMC 13691-R, for example, requires Almita screw piles to be installed below the frost line with mechanized equipment by installers Almita has certified. Find screw pile installers in Ontario, Alberta and Quebec.
Next steps
New to helical piles? Start with what is a helical pile. Then read how to hire a helical pile contractor before collecting quotes. Engineers and contractors can find installation manuals through manufacturers such as CHANCE, Foundation Supportworks, which recently published a fifth edition of its technical manual, and GoliathTech. When you're ready, find a helical pile installer in your state or province.
Frequently asked questions
How are helical piles installed?
A hydraulic drive head screws a steel lead section into the ground. Extensions are added until the pile reaches both its minimum depth and minimum torque. Then a cap or bracket connects it to the structure.
How do installers know a helical pile is strong enough?
They measure torque with a calibrated indicator. Capacity is estimated from final torque using the correlation Qult = Kt × T, and some projects confirm it with load tests.
Can you build on helical piles right away?
Yes. There is no concrete to cure, so once the caps or brackets are installed and inspected, framing can begin.
What equipment is used to install helical piles?
A rotary hydraulic drive head on a skid steer, mini excavator or excavator, or a portable unit for tight spaces, plus a torque indicator to monitor and record installation torque.
What happens if a helical pile hits a rock?
The crew stops, then with the engineer's approval removes the obstruction, moves the pile to an adjacent location, or accepts a shallower depth if torque and capacity allow.
Subscribe to our weekly email newsletter
Industry news, featured projects, new products, and installer spotlights from across the helical pile industry, delivered to your inbox.


Latest articles

Get the Helical Pile Industry Brief
New installers, manufacturer news, cost updates, and fresh guides for the U.S. and Canadian helical pile industry. Short, occasional emails. Unsubscribe any time.
